And, of course, there are Cameron | Pace 3D rigs costing north of $250,000; focus, convergence, interocular—all computer controlled.
Why 3D DIY?
It won’t surprise you to hear that I don’t have a quarter of a million dollars. Nor do I want a $249 Bloggie (who thinks of these silly names?). Sure I’d like a 3D camera like the $29,999.95 Sony PMW-TD300, or its baby brother, the more affordable $2,700 HXR-NX3D1. But the NX3D1 doesn’t shoot wide angle—its wide is 34°, which isn’t wide at all. Its convergence is performed by playing tricks with the pixels and there’s no way of changing the fixed interocular of 1.25”.
I want it all: wide angle, convergence and variable interocular—and at a dead cheap price.
Interocular distance (IO) varies in direct proportion to subject distance from the lens. The closer the subject, the smaller the interocular; the farther, the larger. A shot of the Grand Canyon from half a mile away may have a 5’ interocular. A shot of a bug from a few inches away may have a 1/4” interocular. Interocular tolerance is subjective, but there is a constant value of background split, which cannot be exceeded.
So says James Cameron, my 3D hero, and he should know. Got to have variable IO.
My 3D DIY Rig Specs
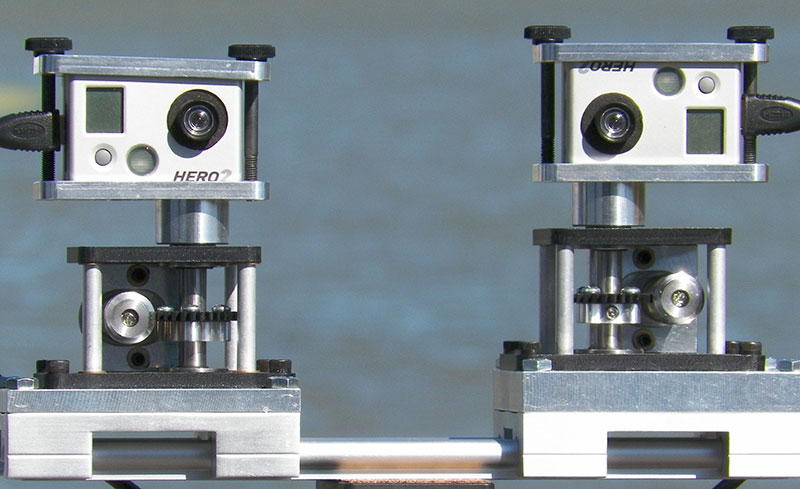
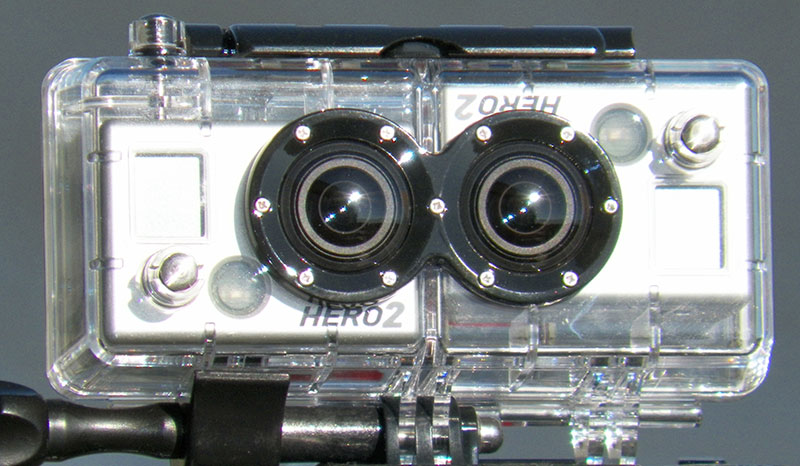
My rig’s IO goes from 2.5” to 4’. Convergence can be adjusted very accurately from parallel (straight ahead) to 90°, where the cameras are looking at each other. I replaced the standard GoPro 2.2mm 170° lenses with 4mm 95° lenses. Lenses from RageCams.com, worm gear from ServoCity.com, the slider track from Opteka via Amazon, assembly by Ron. My 3D DIY GoPro HERO rig: The replacement 95° lenses have no barrel distortion. Interocular distance is from 2.5” to 4’, convergence from parallel to 90°.
3D DIY Location Monitoring
For location monitoring, there’s a really neat Marshall 3D unit at $7,933; however, forgetting its steep price, there’s no HDMI in—so no go GoPro.
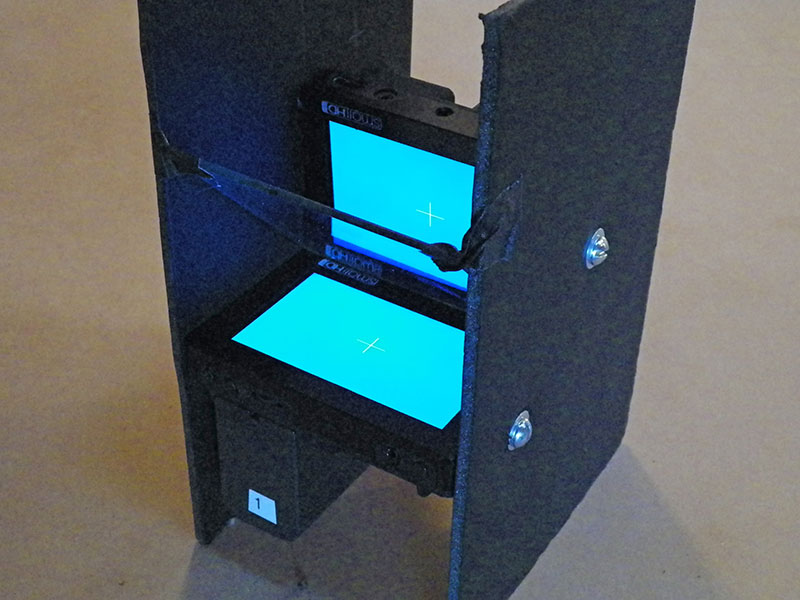
Back to DIY: for my 3D location monitor, I place two SmallHD 4.3” HD monitors at right angles in a mockup cardboard box and gaffer tape a half-silvered mirror at 45°. The HDMI outputs from the GoPros go to respective left- and right-eye monitors. Using polarized glasses, one eye looks through the glass, while the other sees the reflected image.
Now to take the cardboard mockup to Ron, my friendly precision engineer down the road. “Ron, don’t have a fit. Just remake this in metal. There, there, Ron. It’s easy.”
3D DIY location monitor cardboard mockup: SmallHD monitors, two-way mirror and polarized glasses.
My 3D Editing Setup
I need a 3D monitor in my edit room. The NAB Show Avid guys suggested I get something from Best Buy. No way, their 3D TV sets are 46” and 55”—much too big. At the show, Avid was demoing with a 24” JVC 3D monitor. I find one on eBay at $4,500—nope, I’m so cheap. I buy a Sony 3D PlayStation 24” monitor—reduced on Amazon to $292.44.
So that’s where I am today: shooting 3D test footage and waiting for my location 3D monitor to be rebuilt by Ron. I’m moving from 2D Apple Final Cut Pro to 3D Avid Symphony—it’s slow and painful—there’s a ton of new words: S3D leading eye, follow S/R? Ouch! My poor brain hurts.
Friends, stick with me while I learn 3D shooting and editing. Someday we’ll both be experts.


